Installing GeoSystems Monitor Enterprise
|
Article ID: 352
Last updated: 04 Sep, 2020
Revision: 5
|
|
|
|
Views: 0
|
|
- Once you have acquired the zipped installation folder, right click on it and select “Extract All...” to extract the contents to your computer. You can extract the contents anywhere, just remember the location that you selected.
Note: Users should extract the installation zip file on their local machine. Extracting the zip file from a network drive to the target machine will cause Microsoft Windows to flag the installer’s executable dependencies as security threats. This will cause the installer to prompt the user multiple times throughout the install process.
- After the extraction is done, locate and open the newly extracted folder.
- Right click on the GeoSystemsInstall.exe and select “Run as administrator”.
Appears to be a fresh install of GeoSystems Monitor should be present in red like the screenshot below.
The default install location is: Program Files (x86)\GeoSystemsMonitor
The installer will install the following:
GeoSystems Monitor Engine - The core windows application
GeoSystems Monitor JavaScript UI - The UI component
iisnode - IIS module to allow node.js to run inside Windows IIS
node.js - JavaScript run-time environment
URL Rewrite - IIS module to allow URL rewrites
DB Browser - lightweight SQLite browser
The installer will also try and locate a version of Python on the machine.
Make sure the Python location is correct before continuing.
Click on Install to continue

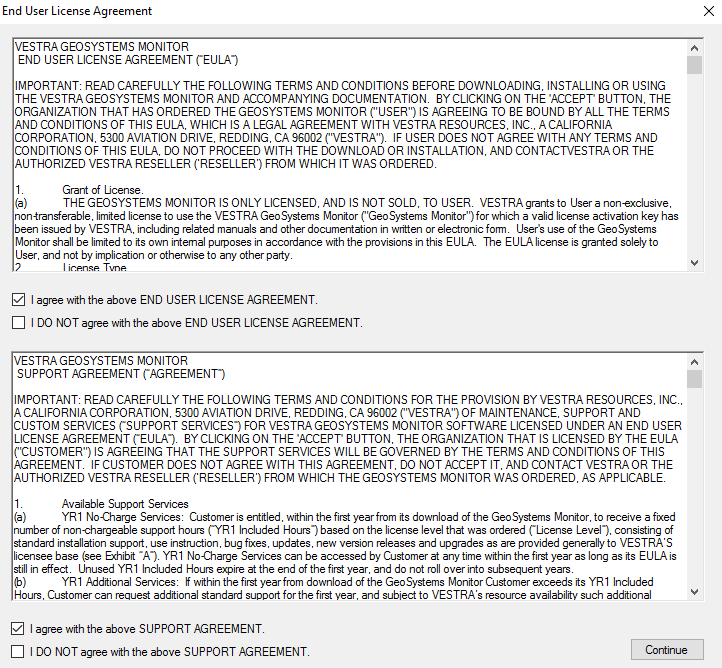
- Accept the End User License and Support Agreement to continue
- The installer will now go through a number of steps to install GeoSystems Monitor.
You will see feedback from the installer in the right hand side text box.
Also, an InstallLog.txt file will be created at the same location the installer is ran from.
- Once the installer has finished, clicking Finish will close the installer.


